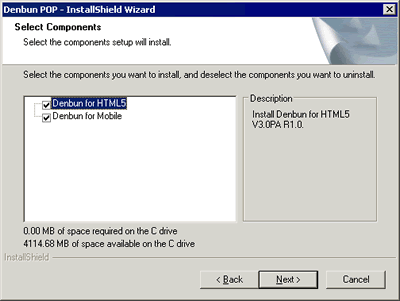
Select the components (Denbun for HTML5, Denbun for Mobile) you want to install.

When you finish the selection, click "Next" button.
If PostgreSQL is installed, enter the information of PostgreSQL.
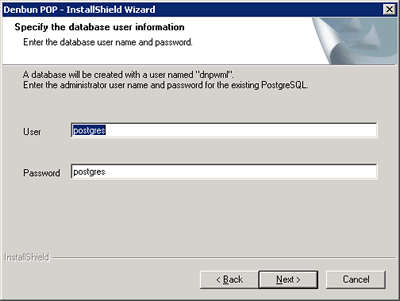
Enter the user name and password of the administrative user and then click "Next".
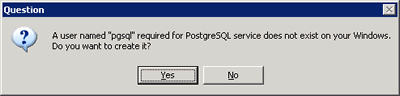
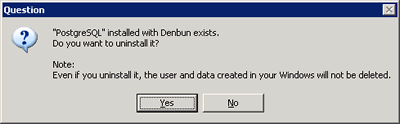
If a user named "pgsql" required for PostgreSQL service does not exist on your Windows, this dialog is displayed to confirm the creation of user.(Specify a user who does not have administrative rights.)
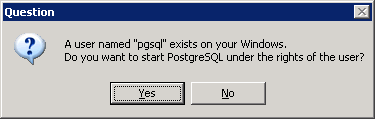
If a user named "pgsql" required for PostgreSQL service exists on your Windows, this dialog is displayed to confirm the using user.
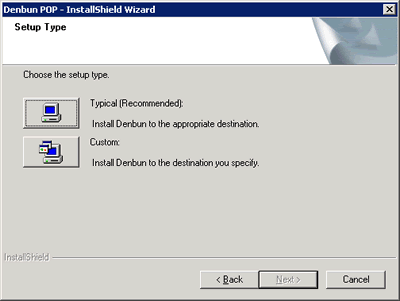
When you choose "Custom" as the Setup Type, "Select Destination Directory for Denbun modules", "Select Home Directory", "Select Destination Directory for Denbun for Mobile" and "Select Destination Directory for PostgreSQL" screen will be displayed. Please specify appropriate directories.
* "Select Destination Directory for Denbun for Mobile" will be displayed only if you install Denbun for Mobile.
* "Select Destination Directory for PostgreSQL" will be displayed only if you install PostgreSQL.
* "Enter the user information for the PostgreSQL service account" screen will be displayed only if you install PostgreSQL.
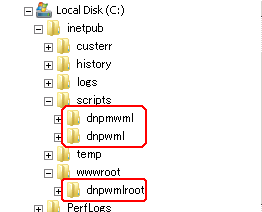
Destination directory for Denbun modules
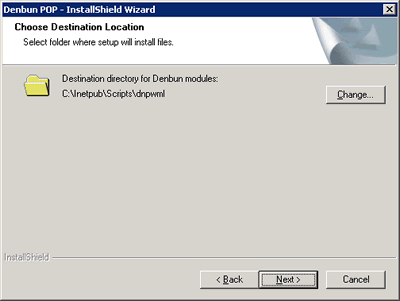
When you finish the selection, click "Next" button.
Destination directory for image files
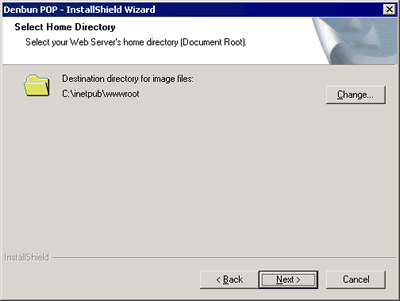
When you finish the selection, click "Next" button.
Destination directory for Denbun for Mobile

When you finish the selection, click "Next" button.
Destination directory for PostgreSQL
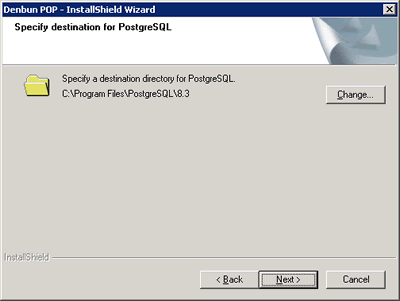
When you finish the selection, click "Next" button.
The user information for the PostgreSQL service account
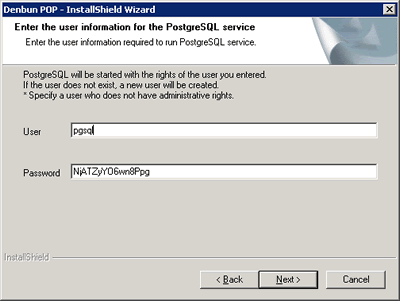
When you finish entering the user information for the PostgreSQL service account, click "Next" button.